First steps
From Yade
Yade can be started from either a terminal window or just by clicking on the icon. Currently it is more useful to run it from a terminal because:
- you can cd into a directory of your choice (quite often it's yade's bin/ directory), so that default ../data directory exists. Next version should allow to configure paths
- you can see all messages going to stderr or stdout
File Generator
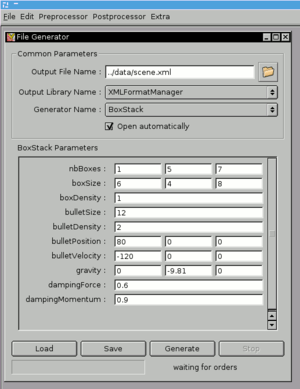
When yade starts, click "Preprocessor->File Generator". Filegenerators are used to generate an input file for yade to simulate something. You can try using some of the existing ones before you try writing a new filegenerator. You will see a following dialog box:
|
Examples
Some of the filegenerators mentioned above need an input file which can be found in yade-examples. Currently we have:
- 2 examples for FEM
- 1 example for SDEC Impact test
Other filegenerators work without need for any input file. They generate examples just by parameters given to them. In the future yade-examples will contain more.
Put those examples in mentioned above somewhere/data/ directory, so that filegenerators will find them.
To have a glance on what FileGenerators are available, and what they do, please visit the screenshots and videos section.
First simulation
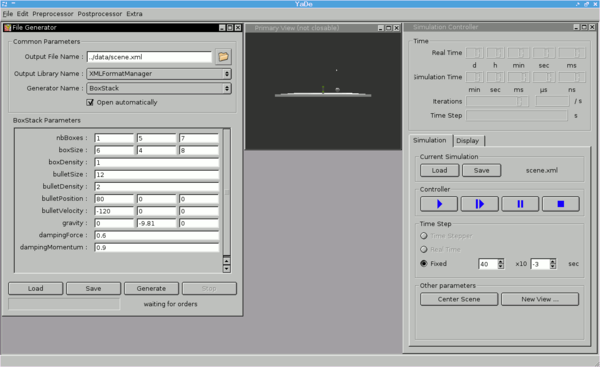
Once you have succesfully generated an input file for the simulation (called ../scene.xml by default), you can load and run it. Click "File->New Simulation", and you will see a Simulation Controller window. Inside it click Load and choose scene.xml. You should see something like this:
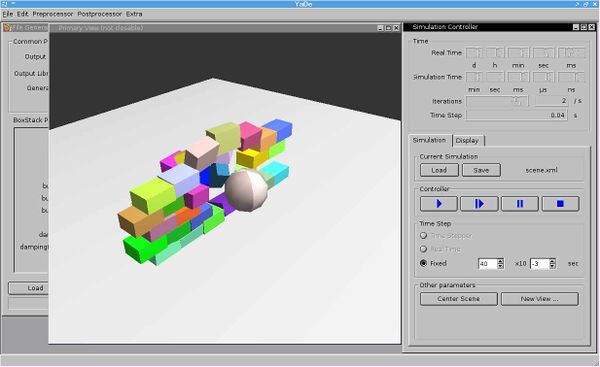
You can manipulate the qglviewer graphical window by dragging and scrolling with the mouse. To run the simulation click the button ![]() (play). Eventually you will see something like this:
(play). Eventually you will see something like this:
From now on you can start exploring yade yourself, and have a look at usage details for more info.


